Introduction: From Screen to Silk
The Print-on-Demand (POD) industry has been revolutionized in 2026. Artists are no longer limited by their drawing skills; they are limited only by their imagination. Whether it’s a “Cyberpunk Poster” generated by Grok or a “Botanical Illustration” from Gemini, AI art is appearing on everything from coffee mugs to luxury canvases.
However, there is a massive bridge to cross between a 72 DPI screen and a 300 DPI physical print. A tiny watermark that looks “small” on your phone will look like a glaring, unprofessional smudge when printed on a 24-inch poster. In this guide, we’ll show you the professional workflow to prepare your AI art for the physical world using ReachBrick AI.
1. The “DPI” Reality Check
Most AI models generate images at 72 or 96 DPI (Dots Per Inch). For a high-quality print, you need 300 DPI.
- The Problem: When you scale up an image for printing, the watermark scales with it. A 48px star logo becomes a 2-inch eyesore on a t-shirt.
- The ReachBrick Rule: You must remove the watermark before you upscale or change the DPI. If you upscale first, the watermark pixels become “baked” into the texture, making them 10x harder to remove cleanly.
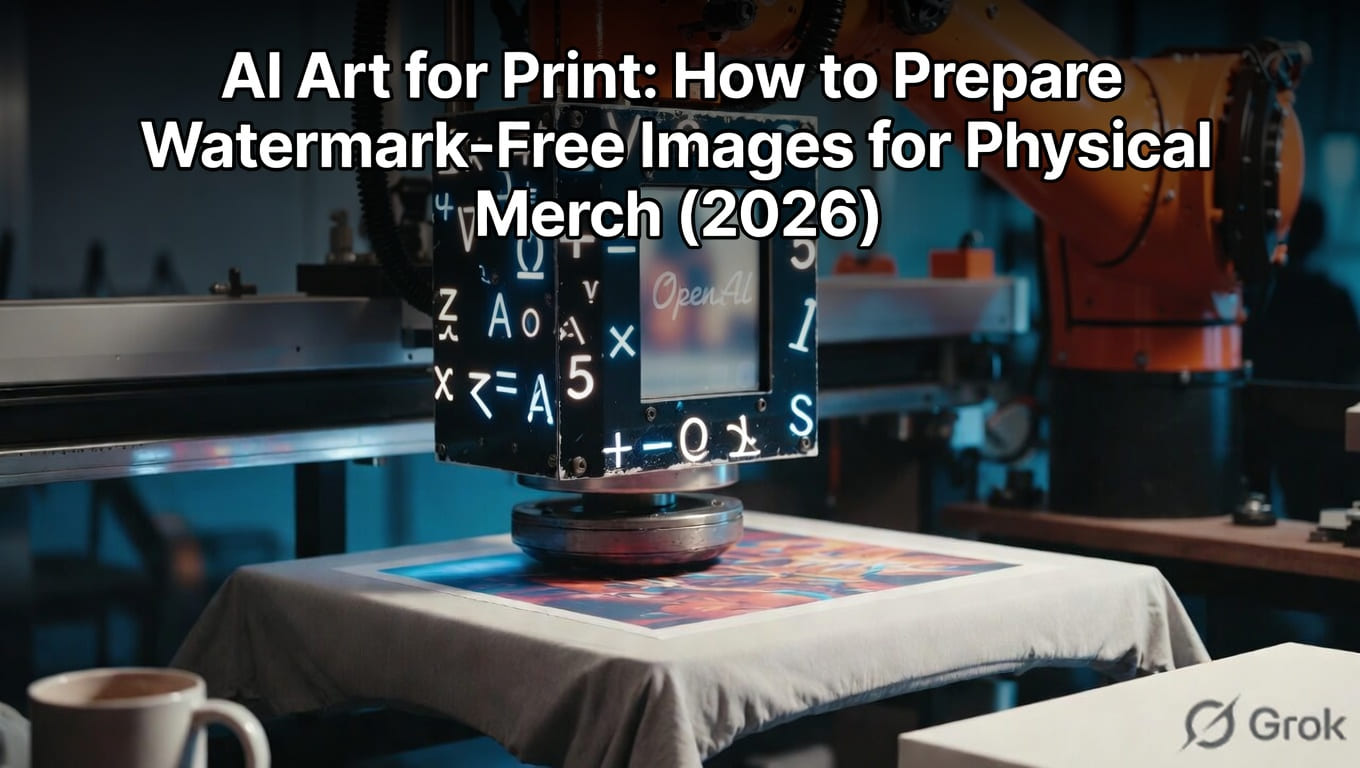
[Image showing a side-by-side comparison of a watermarked AI image on a smartphone vs. a printed poster with a visible logo]
2. Color Spaces: RGB vs. CMYK
AI models generate in RGB (Light-based colors for screens). Printers use CMYK (Ink-based colors).
- The Color Shift: When you convert an image to CMYK, colors can shift. If a watermark is still present, the “Alpha Blending” area around the logo might turn into a weird gray or muddy patch.
- Restoration Advantage: By using , you ensure that the pixel values are consistent before the color conversion, preventing “Ghost Boxes” in your final print.
3. The POD Workflow: A Step-by-Step Guide
Step 1: Clean (The Foundation)
Upload your original AI render to ReachBrick AI. Use the specific tool for the model you used (Gemini, ChatGPT, or Grok). Ensure the corner is 100% clean and the background texture is reconstructed.
Step 2: Upscale (The Strength)
Once the watermark is gone, use a high-end AI upscaler (like we discussed in ) to reach at least 4000px on the shortest side.
Step 3: Sharpening for Print
Print ink spreads slightly on paper or fabric. Use a “High-Pass Filter” or “AI Sharpening” to make the edges of your clean image extra crisp.
4. Why Customers Reject Watermarked Merch
If you are running an Etsy shop or a Shopify store in 2026, your “Brand Authority” is everything.
- Copyright Perception: Customers associate watermarks with “Stock Photos” or “Unlicensed Work.” They won’t pay $50 for a canvas that has a Google or OpenAI logo on it.
- The Boutique Feel: A watermark-free image feels like a “Limited Edition” piece of art. It creates a “Boutique” experience that justifies a higher price point.
5. Merch Ideas for 2026 AI Artists
- Custom Puzzles: Highly detailed DALL-E 3 landscapes (cleaned via ReachBrick) make for excellent 1000-piece puzzles.
- Aesthetic Stationery: Use Gemini’s soft textures for minimalist journals.
- Tech Accessories: Grok’s edgy sci-fi renders are perfect for high-end phone cases and laptop skins.
Conclusion: Make it Real with ReachBrick
The journey of a pixel doesn’t have to end on a screen. By using ReachBrick AI to provide a “Brick-solid” clean base, you can confidently take your digital creations into the physical world. Don’t let a tiny digital signature hold back your merchandising empire. Clean your art, print your vision, and reach your customers.